1、购买免费版的阿里云SSL证书
在阿里云控制台:产品与服务->安全(云盾)->SSL证书(应用安全)->购买证书(地址:https://yundunnext.console.aliyun.com/?p=casnext#/overview/cn-hangzhou) 选择免费的证书类型完成购买。这里有个小技巧:先选品牌Symantec ,再选保护类型1个域名,这样才能看到免费型DV SSL,如图:

选好后购买付费即可,这里只是走一个流程,实际不需要支付任何费用
说明:购买完后需要点击“申请”按钮填写一些你的域名信息进行审核。审核不需要等很久,我的几分钟就可以用了。下图为成功后的效果图:
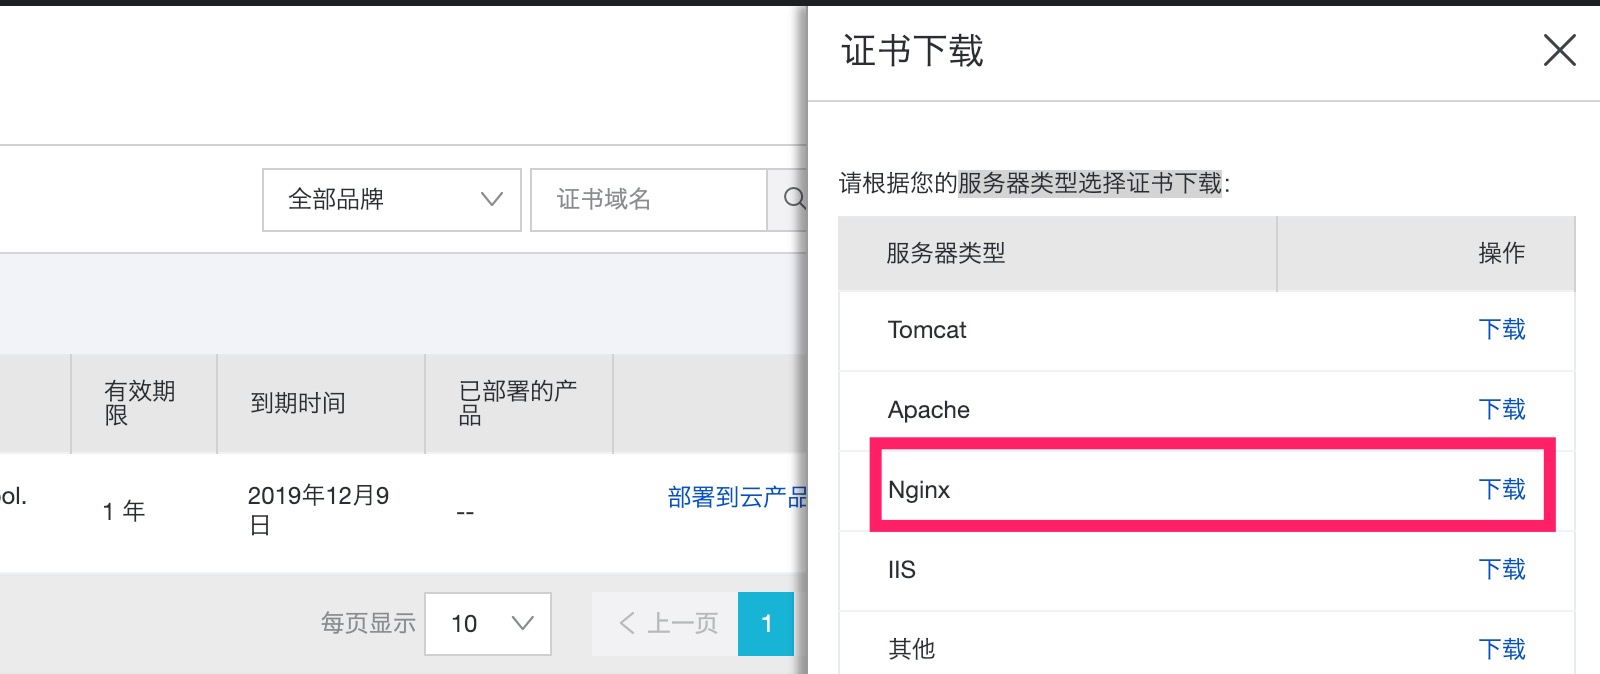
2.根据你的服务器类型下载对应的证书
我这里使用的是springboot+nginx架构,所以下载的是nginx类型的证书,如图:
将下载的证书文件上传到服务器,我这里证书的存放路径是/usr/local/nginx/conf/cert文件夹下,如下:
root:cert/ # pwd
/usr/local/nginx/conf/cert
root:cert/ # ls
example-ssl.key  example-ssl.pem
3.修改springboot的配置文件application.properties
server.port=8080
server.tomcat.protocol_header=x-forwarded-proto
server.use-forward-headers=true
server.address=127.0.0.1
该配置将指示tomcat从HTTP头信息中去获取协议信息(而非从HttpServletRequest中获取)。这里增加server.address=127.0.0.1是为了限制外网直接访问8080端口,此配置就限制了只能通过本机访问了。
4.修改nginx的配置文件nginx.conf,加入ssl证书文件路劲等配置项
server {
    listen 80;                                                          #监听80端口 http默认重定向到https
    server_name example.com www.example.com;
    rewrite ^(.*)$ https://${server_name}$1 permanent; #重定向配置,将所有请求重定向为https
}

server {
    listen 443 ssl;                                                     #监听443 https默认端口
    server_name example.com www.example.com;  #配置域名
    ssl_certificate cert/example-ssl.pem;                 #配置证书位置
    ssl_certificate_key cert/example-ssl.key;           #配置证书位置

    location /{                                                         #反向代理配置
        proxy_pass            http://127.0.0.1:8080;
        proxy_set_header  Host $http_host;
        proxy_set_header  X-Real-IP  $remote_addr;
        proxy_set_header  X-Forwarded-For $proxy_add_x_forwarded_for;
        proxy_set_header  X-Forwarded-Proto $scheme;
    }
}
配置好后重启nginx
root:cert/ # nginx -s reload
一切顺利过后就可以打开浏览器进行测试了
http://www.example.com
或者
https://www.example.com
注意:如果出现无法访问,请先检查防火墙是否已经开启了80,443端口的访问,阿里云ECS服务器可以在安全组中开放80和443端口,如图:
